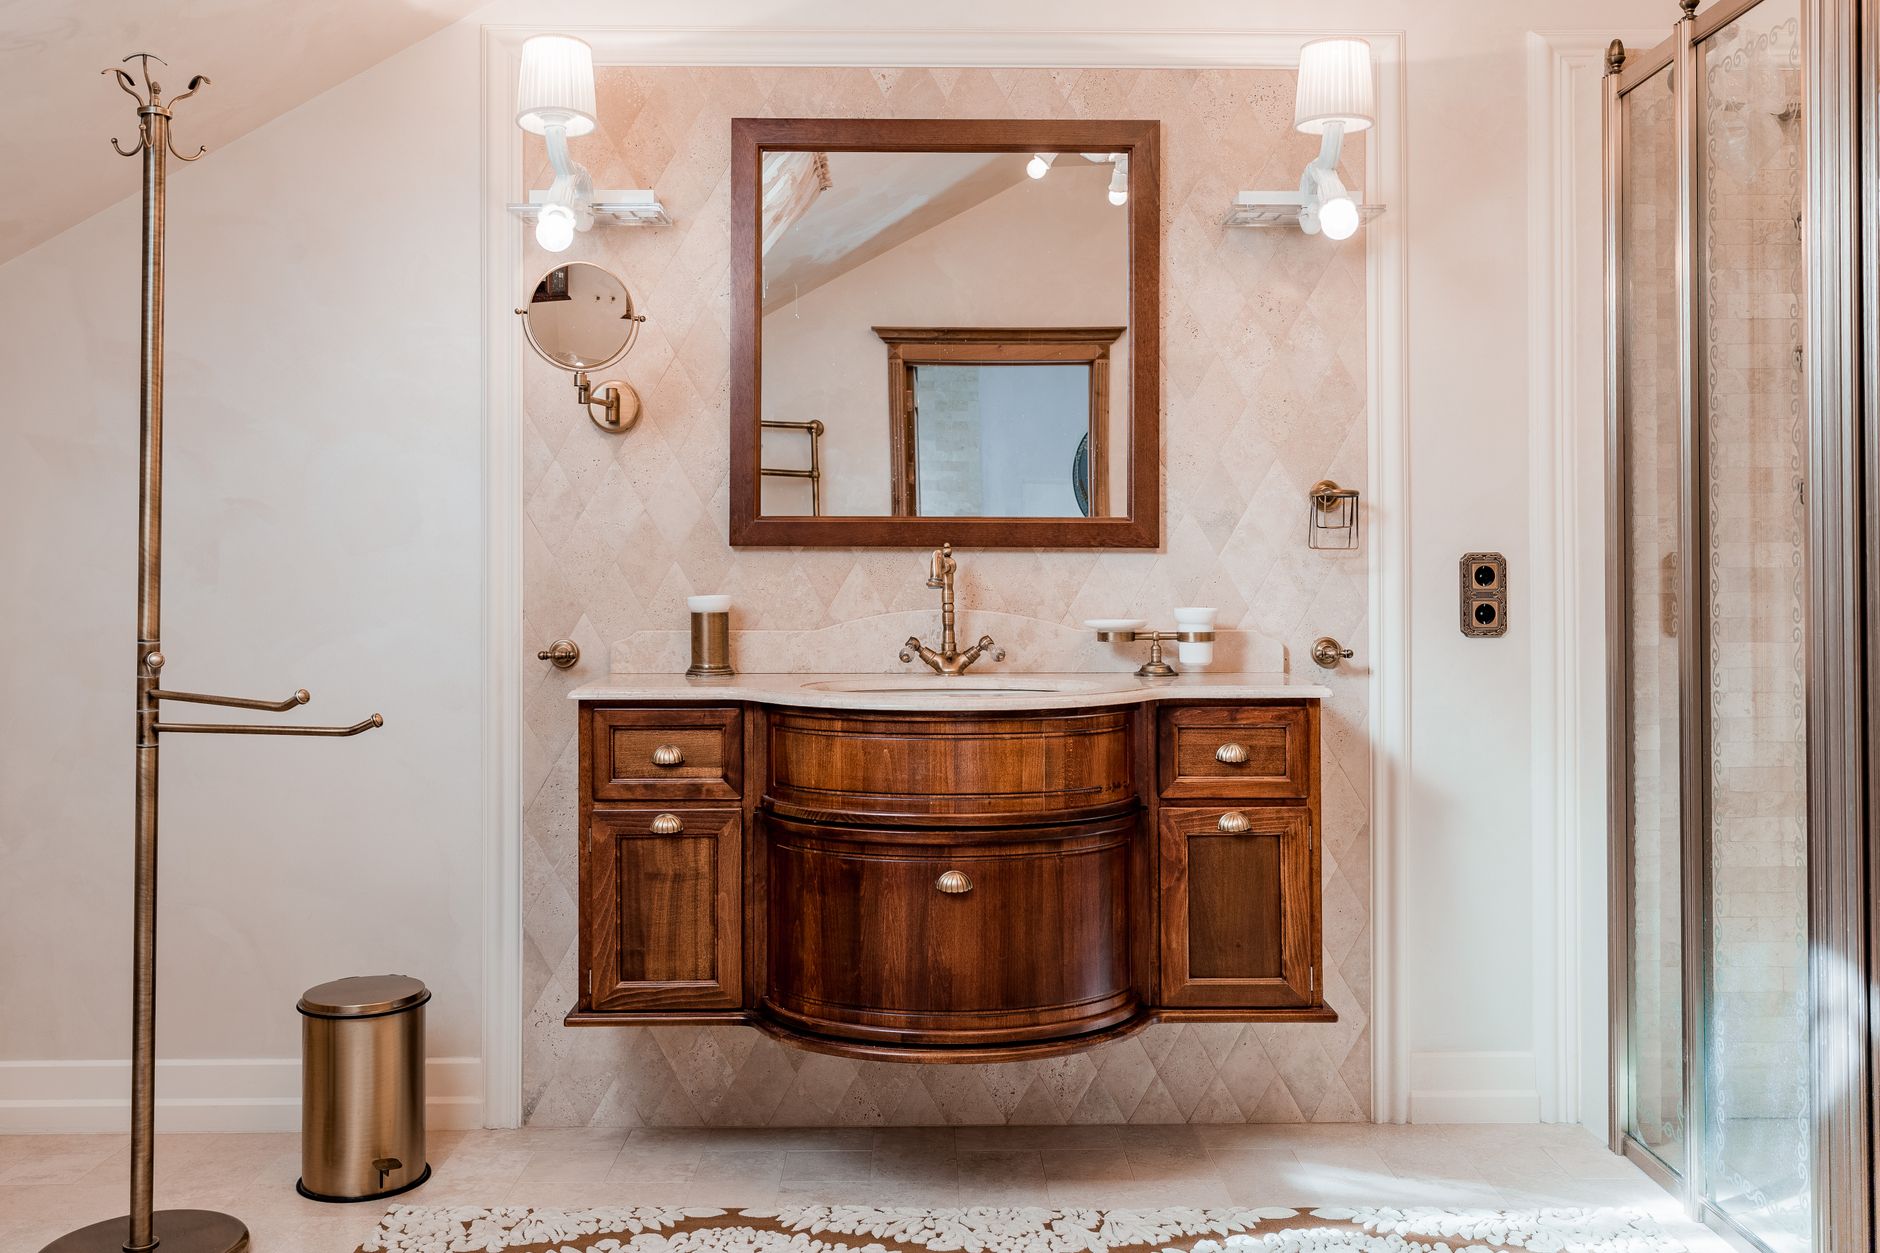
You keep a bathroom trash area from becoming the messiest spot by choosing a bin with a lid and a snug liner, putting it where you can use it without stepping around anything, and emptying it on a fixed schedule instead of when it overflows. Most bathroom trash problems come from a bin that is too small, too open, or too awkward to empty, and each of those is cheap to fix.
The bin matters more than its size suggests. Bathroom trash is a mix of damp tissue, hair, cotton pads, floss, packaging, and sometimes hygiene products. Moisture and organic material in a warm room produce odor faster than kitchen trash does in many homes, and the bin sits at floor level where the eye lands. A leaning bin with a torn liner and tissue on the floor around it makes a freshly cleaned room look neglected.
Pick the right bin for the room
Capacity is the first decision, and people usually get it wrong in one of two directions. A tiny 1-gallon bin fills in a day for a household with several people, so it overflows. A 13-gallon kitchen-style bin dwarfs a small bathroom and tends to hold trash until it smells. For most bathrooms, roughly 2 to 4 gallons (about 8 to 15 liters) suits one or two users, and 4 to 6 gallons suits a family bathroom.
| Bin type | Best for | Typical price | Watch out for |
|---|---|---|---|
| Open-top small bin | Low-use powder rooms, guest baths | Often $5 to $15 | Odor and visible trash, no cover for hygiene items |
| Step-on lidded bin | Most household bathrooms | Often $10 to $40 | Cheap pedals break; look for a metal pedal rod |
| Push-flap or swing-lid bin | Tight spaces, kids who forget lids | Often $8 to $25 | Lids hold back odor less well, and the flap gets sticky if never wiped |
| Slim rectangular bin | Narrow gaps beside the toilet or vanity | Often $10 to $30 | Small capacity, so empty it more often |
| Under-sink pull-out bin | Hiding the bin in a vanity cabinet | Often $20 to $60 | Needs cabinet space that is not blocked by pipes, and a check for damp |
| Wall-mounted or cabinet-door bin | Small bathrooms with no floor space | Often $10 to $35 | Needs drilling or a compatible cabinet, so renters should check the lease first |
Measure the gap beside the toilet before you shop, and confirm the bin takes a standard liner size so you are not locked into one brand. A common mistake is a bin that is too small, which overflows, or too large, which fills with old trash. Material also matters. Plastic is cheap, light, and easy to rinse. Stainless steel or powder-coated metal looks better and resists staining but shows fingerprints and can rust at the bottom if it sits in puddles. Whatever you choose, check that the inside is smooth, since seams and ridges collect gunk.
Place it where it will actually get used
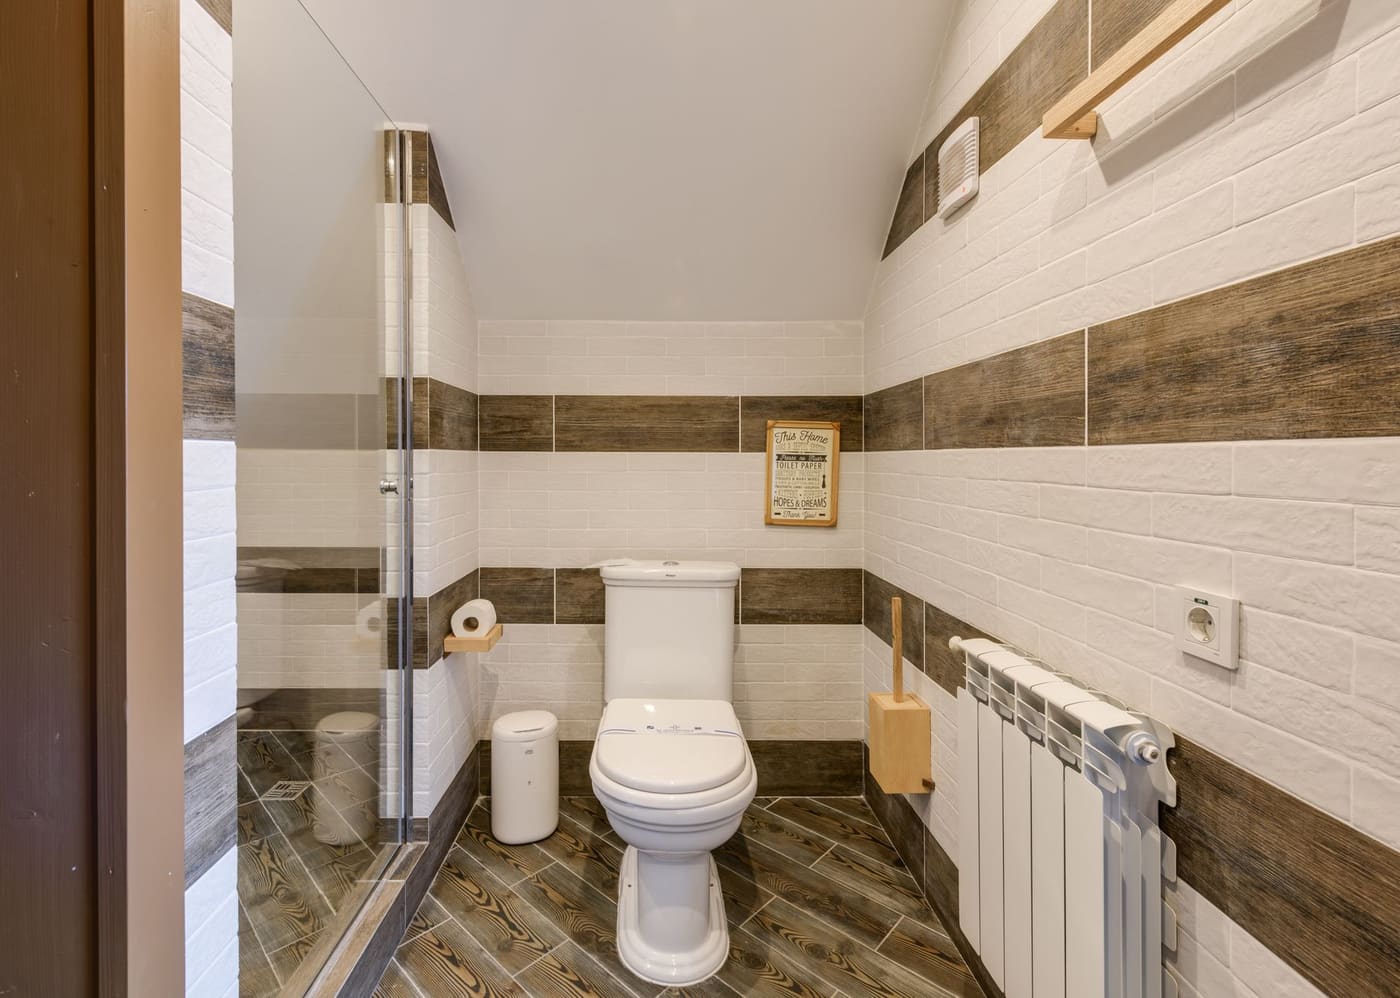
Trash ends up on the floor when the bin is hard to reach. A few placement rules solve most of it.
- Within one step of the toilet and the sink. Ideally between them or close to the vanity, so tissue, floss, and cotton pads can be dropped without walking.
- On the side of your dominant hand. It sounds minor, but people throw toward the side that feels natural.
- Away from the shower splash zone. A bin that gets wet inside will smell and the liner will stick.
- Not directly in the doorway path. A bin that gets kicked or bumped gets knocked over and avoided.
- Off a bath mat or rug edge. A bin standing on fabric traps moisture underneath.
If floor space is tight, a bin that fits under or beside a pedestal sink, or one that tucks into the corner behind the door, often works better than centering it.
Use liners that fit and a system that makes emptying easy
A liner that is too big bunches around the rim and looks messy. One that is too small slips inside. Measure the bin’s height and the distance around the rim, and buy liners labeled for that capacity. Many people use plain unscented liners and put a few drops of something pleasant on a cotton ball elsewhere, since heavily scented liners can smell chemical.
A simple emptying setup removes the friction that leads to full bins:
- Keep two or three spare liners folded in the bottom of the bin, under the current one. When you pull out the full bag, the next one is right there.
- Tie the old bag, set it by the door, and replace the liner before you leave the room.
- Take the bag out when you leave, not later. A bag waiting by the door becomes part of the room.
This takes under a minute and removes the “I will do it later” delay that causes overflow.

Deal with the smell at the source
Bathroom trash smells because of moisture plus organic material. The best fixes reduce both.
- Keep the bin dry. After emptying, check the bottom. If the liner leaked, wipe the bin with an all-purpose cleaner and let it dry before relining.
- Put a sheet of paper towel or a few crumpled paper pieces in the bottom of the liner. It absorbs small drips and keeps things from sticking.
- Use a lid. A closed bin holds back both odor and the sight of trash.
- Add an absorbent. A tablespoon of baking soda in the bottom of the bin takes the edge off mild smells, though it is not a substitute for emptying.
- Empty more often in warm weather. Heat speeds up odor.
Never mix cleaning products when wiping out the bin. If you use bleach-based cleaner, rinse thoroughly before using anything else, and do not combine bleach with ammonia or acids. Wear gloves and let air circulate.
Separate what does not belong in the main bin
Some items are what turn a bin from tidy to unpleasant. A small amount of sorting helps.
Hygiene and sensitive items
Used hygiene products and similar items are better wrapped and placed in a lidded bin so they are not visible. If anyone in the house changes their own adult incontinence products, or you have a baby in diapers, a separate lidded bin for those prevents the general bin from becoming a problem. Do not flush products that are not marked as flushable, since they are a common cause of plumbing clogs.
Hair and razors
Hair from brushes and drains looks messier than it is. Gather it in a tissue and drop it in as a single wad instead of letting strands scatter. For razors, disposable razor heads and blades can cut through a bag. A rigid container such as an empty metal tin or a purpose-made sharps container protects whoever takes out the trash. Check local rules for how to dispose of full containers.
Recyclables
Empty shampoo bottles, cardboard from toothpaste boxes, and toilet paper rolls pile up fast. Keep a small container, a basket or a mesh bag, in a closet or the laundry area, rather than in the bathroom, and move recyclables out every week. Rinse bottles briefly so they do not smell in the bag.
Add a tidy system around the bin
The immediate area around the bin is part of the trash zone. Think about what tends to land there.
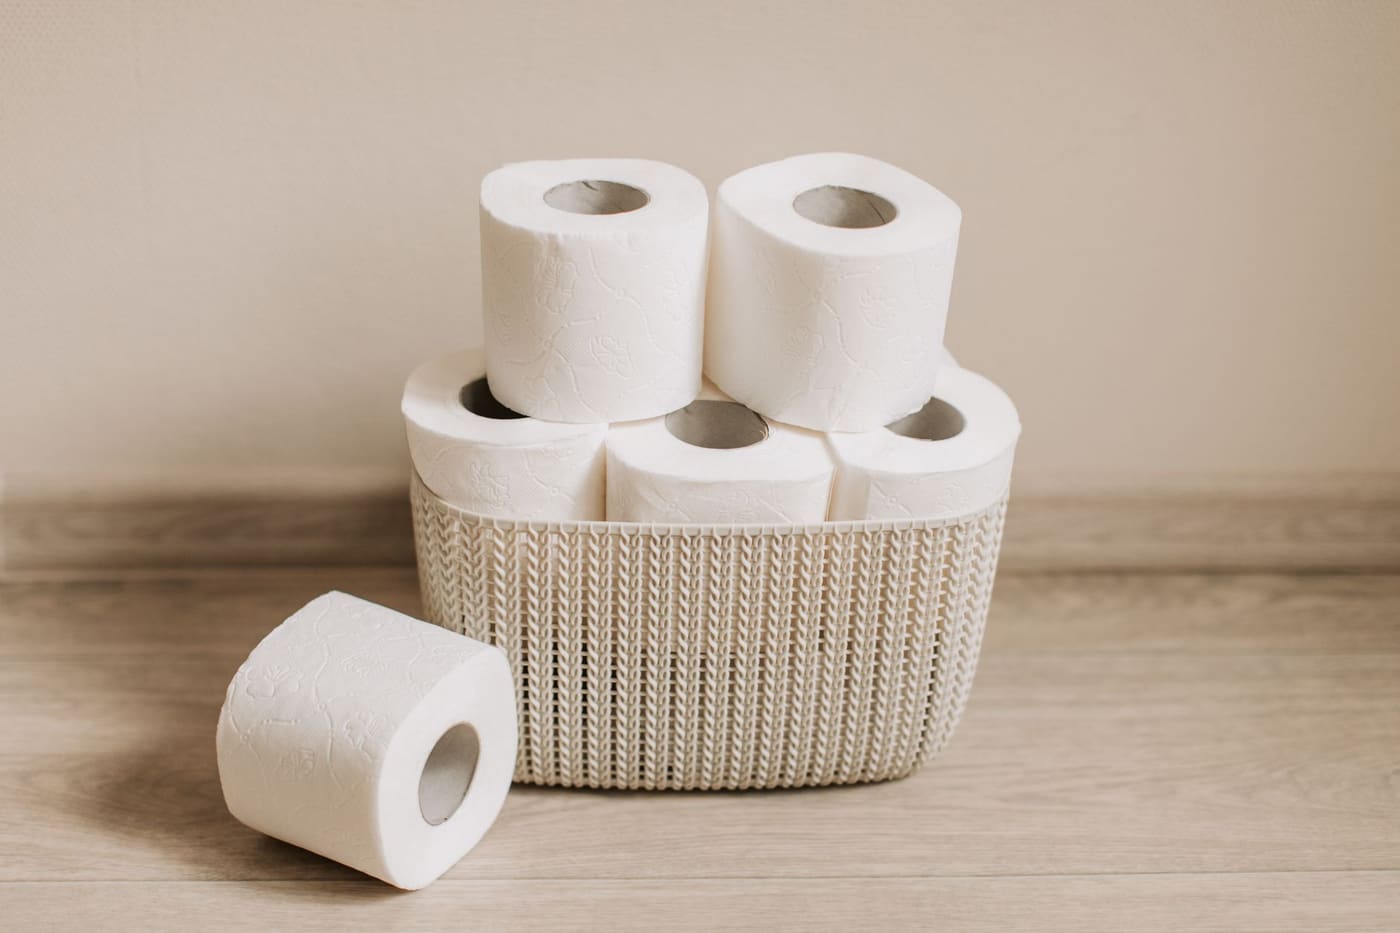
- Tissue boxes and spare toilet paper: A basket or shelf above the bin keeps them off the floor.
- Cotton pads and swabs: A small lidded jar on the counter gives them a place so they do not get dropped near the bin.
- Toilet brush: Keep it in its own holder on the opposite side of the toilet from the bin, so the two do not share a visual spot.
- Spare liners: Store extras in the cabinet below the sink, not on top of the bin.
The article on what to keep on the bathroom counter is useful for deciding which of these items deserve a spot in view.
Clean the bin on a schedule
The bin itself gets dirty, and a clean liner does not make up for a grimy bin.
- Weekly: When you change the liner, look inside and wipe any marks.
- Monthly: Wash the bin in the tub or sink with warm water and dish soap, scrub the lid and pedal area, rinse, and let it dry completely before relining. This takes about five minutes.
- As needed: Wipe the outside and the rim when you wipe the floor, especially the side facing the toilet.
Add the bin to your regular routine rather than treating it as a separate task, using the weekly and monthly schedule as a guide. A short five-minute bathroom reset can include checking the bin and tying off the bag in under thirty seconds.
Pick a finish that blends in
You do not need to hide the bin. A plain shape in a finish close to your faucet, towel bar, or wall color recedes visually, and a bin without decorative cutouts does not show the bag or collect dust. If an under-sink or wall-mounted bin is on your list, check the under-sink organizing guide first, since pipes and a damp cabinet change what fits. Once the bin is in place, add the weekly bag change to your reset and the monthly wash to the schedule, and it stops being something you notice.
Where this comes from
This is practical household organizing advice, so it rests on few checkable facts. The advice not to flush items that are not marked flushable and the cleaner-mixing warning follow common plumbing and CDC and EPA safety guidance, and sharps should be handled under your local disposal rules. Prices are typical US ranges that vary by store and region.